


The power meter, long considered a product reserved for elites and professional competitors, is becoming more and more common and now equips the bikes of many amateur cyclists. In fact, on some of the best road bikes, these sensors are present from the moment you buy the bike. This tool, which might seem complex at first, is actually very useful and easy to use once its operation has been explained. As a historical reminder, it was in 1986 that the first sensor (the SRM crankset) appeared, revolutionizing the evaluation of cycling performance in real conditions. That is why we will present its benefits for cyclists, how it works, and the different types of sensors available on the market.
The benefit of a power meter for the cyclist
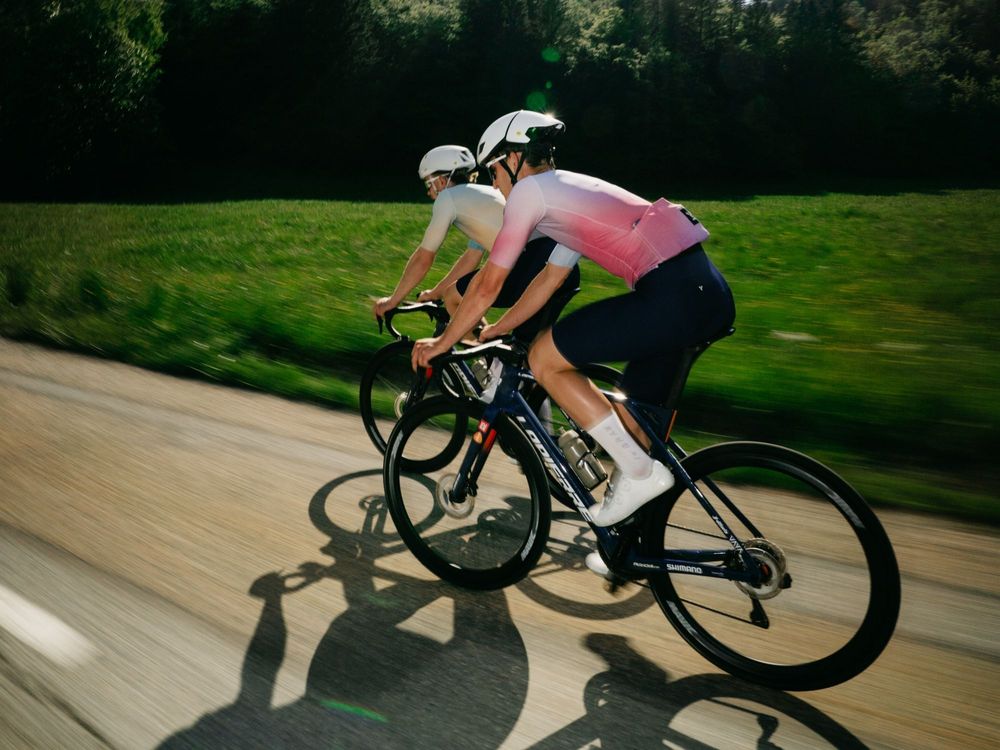
The power meter is a tool that allows you to measure the power developed by the cyclist when pedaling. From this data, it is then possible to define different intensity zones very useful for training and progressing. To define your different training zones, you just need to do a PMA or FTP test. Find our advice to improve at cycling. Traditionally used on road bikes or triathlon bikes, their popularity is also increasing among gravel riders.
Using a power meter will provide more precise and complete information than the traditional heart rate. Heart rate mainly has the limitation of a significant lag; it does not react instantly during your intensity changes on the bike, so it takes some time to rise or fall with effort, which makes tracking your interval sessions and analyzing your rides unreliable. Conversely, power has no lag and is not subject to drift related to heat, dehydration, or fatigue.
Nevertheless, heart rate information will be complementary to assess your fitness level by tracking its evolution over time. The combined analysis of heart rate and power curves is a great indicator of your training level, with regular base work systematically leading to a decrease in heart rate for the same power produced. Thanks to power data, you will be able to improve your strength, cadence, or lactate capacity to boost your punch on climbs.
Moreover, using it in races will give you reliable intensity benchmarks to base yourself on, better managing your efforts and fully expressing your potential.
Over your rides, the power meter will allow you to measure the evolution of your watts produced to analyze your fitness and fatigue level in order to track your progress.
Some sensors offer differentiated right/left measurement allowing you to know the actual power distribution during effort and track the balance between right and left leg. This data is particularly important for athletes returning after a long break or following an injury and who suffer from strength imbalances between their two legs. Find our selection of sensors offering bilateral measurement.
In addition to these general data, some sensors allow a finer analysis of your pedaling by providing various indicators on power distribution, informing you about the dead spots and push phases of your pedaling cycle to measure its efficiency and track the evolution of your pedaling technique. Working on these low and high transition phases (the dead spot) notably helps increase effective force and reduce useless force applied parallel to the crank.
How does a power meter work?
The power meter measures the force you apply on the pedals, cranks, or crankset thanks to strain gauges, small sensors that detect the slightest deformations caused by your effort. By combining this force with your pedaling cadence (angular velocity), it calculates the driving power you develop at every moment and expresses it in watts. The data is then sent in real time to your GPS computer, smartphone, or tablet via Bluetooth or ANT+.
The different types of power meters
Today, there are several types of power meters, each with their own advantages and disadvantages:
Power meter pedals
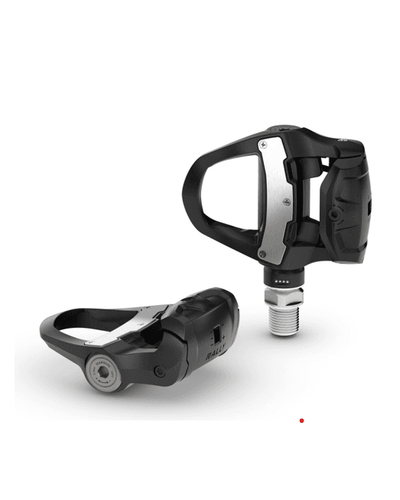
Highly popular, this sensor shines because of its ease of installation. Transferable from one bike to another in a few minutes, it is ideal if you own several bikes. Measurement in both pedals (offered by Garmin with its Rally, Assioma or Wahoo) allows you to obtain separate data for each leg. You can thus analyze the efficiency of your pedaling cycle during training. If you’re looking for an ultra-practical system without getting stressed over mechanics, this product is the most suitable.
Cranksets with power sensor
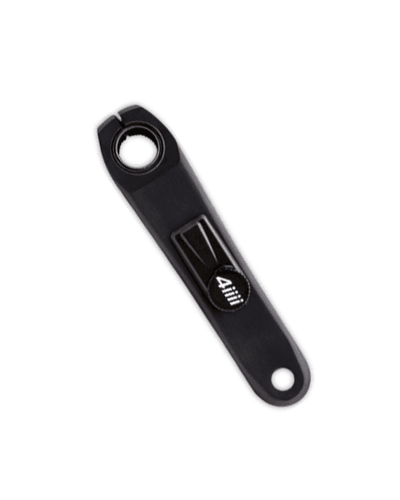
Available in single or double-sided, this sensor integrated into the crankset is easy to install. Its main advantage is its price, often very affordable in its single version. However, be careful: a single-sided model provides less accurate data than a double-sided one. It calculates total power by doubling the measurements from one leg only, thus ignoring variations due to fatigue or potential muscle imbalance (one leg stronger than the other).
Bottom bracket with power sensor
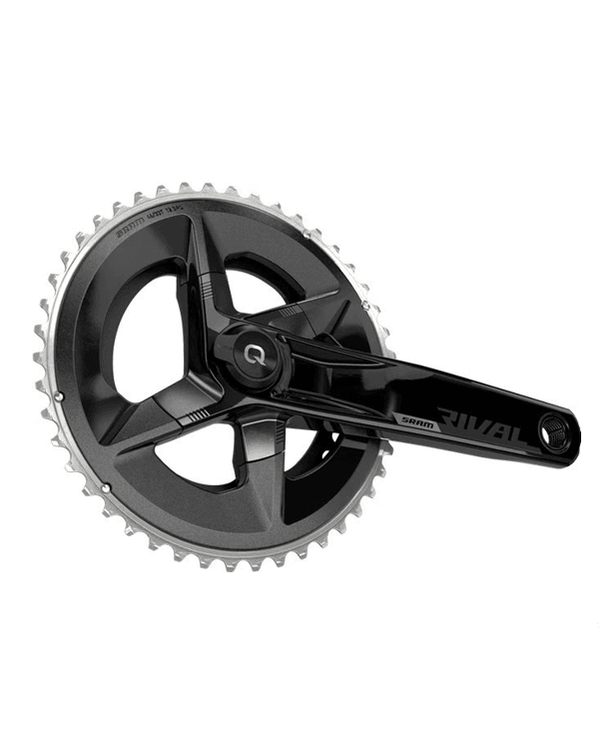
This is the most common and widely used type of sensor due to the accuracy it provides. Indeed, it measures force close to the pressure point, which is an advantage in data reading. Brands like SRAM/Quarq, Shimano, or SRM use this preferred location. Hybrid models are also emerging with a system integrated into the chainrings. However, due to its efficiency, it remains one of the most expensive products on the market.
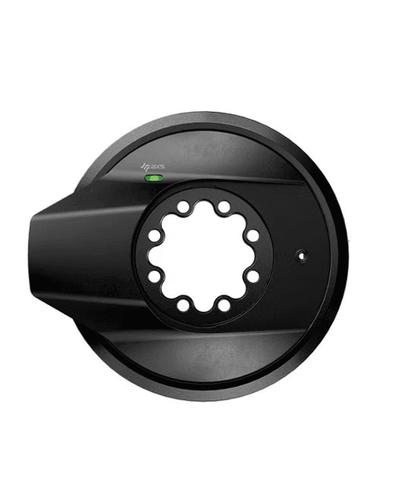
Star with power sensor
A power sensor located on the crank arm spider is a way to obtain high quality while staying within an affordable price range. Additionally, they are capable of collecting total power data from both legs, as logically, they allow the constant movement of the cranks and chain. This model is also quite simple to use and install because it just needs to be fixed.
Which sensor for your practice?
All the types of sensors mentioned above have different characteristics that meet different expectations and needs. Your choice to prefer one over the other depends solely on you and how you want to use it.
Nevertheless, it is important to consider several factors before making your choice: budget, frequency of use, whether you want to use it on one or several bikes, and finally the equipment you have.
Some products present on our site:
| Type of sensor | Examples of flagship models | Advantages | Limitations |
|---|---|---|---|
| Pedals | Favero Assioma Duo, Garmin Rally, Wahoo Powrlink | Very quick installation, ideal if you have multiple bikes. Very precise left/right separate measurement. | Pedals are more exposed during potential falls. |
| Crank arms | Rotor Inpower Direct Mount, Stages, 4iiii | Simple mounting, discreet sensor. Very good quality/price ratio in the "single side" version. | "Single side" versions ignore imbalances between the two legs. |
| Chainset | SRAM Quarq Red AXS (aero 12v), Praxis Zayante Carbon M30 4iiii | Formidable accuracy very close to the effort, sleek aesthetics. | The most expensive system, requires more complex mounting and compatibility. |
| Spider | Rotor INspider Direct Mount, Quarq DFour DUB 110mm | Measures total power from both legs, excellent compromise price/accuracy. | Requires a compatible removable spider chainset. |

Redac
Author
The Alltricks editorial team: passionate experts sharing blog tests and advice on running (10k to marathon), trail, outdoor activities, and of course, all types of cycling.
View his articles


